In This Article
- Rollers and roller covers
- Brushing up on the details
- Maintaining a clean canvas
- The finishing touches
- 9 Other painting tools you may need
- Caulk, caulk gun, and putty knife
- Paint buckets, paint drill mixer attachment, pouring spout
- 5 Bonus painting tools
- How do you take care of painting tools?
- Here are some general storage instructions for your painting tools
- Some textured wall finishes from #LivspaceHomes that you should recreate!
- How can Livspace help you?
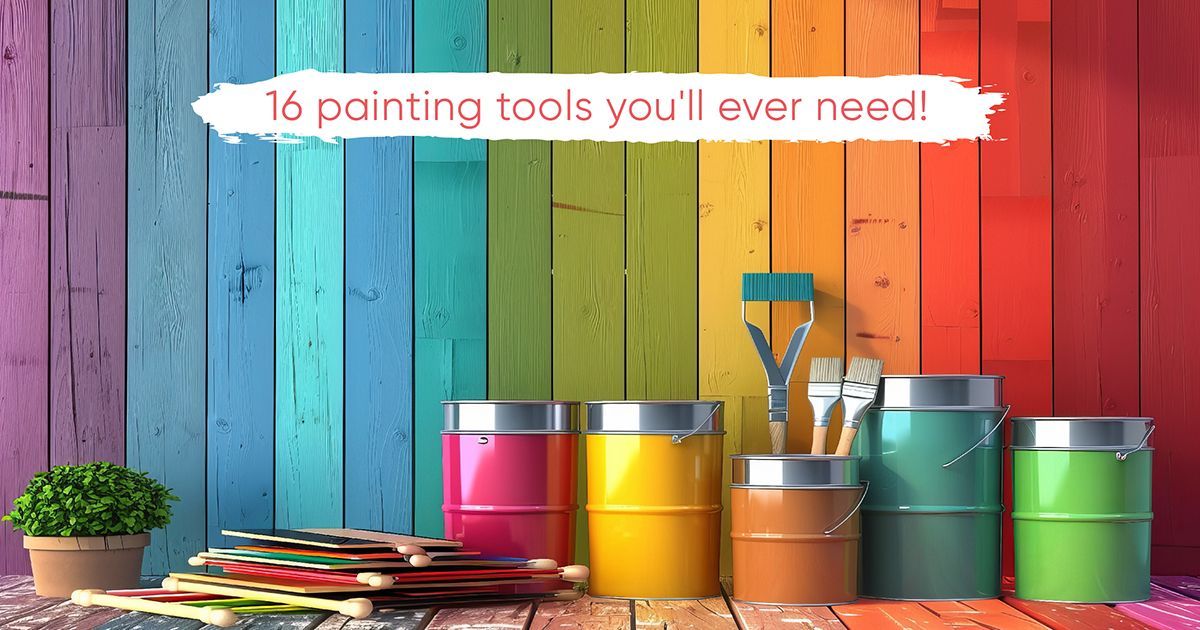
Staring at a blank wall and dreaming of a fresh coat of paint? Don’t let the fear of brushstrokes and splatters hold you back! Painting your walls can be a rewarding and transformative experience, but it’s only as enjoyable as the tools you have at your disposal. The right equipment can make all the difference between a frustrating mess and a crisp, professional-looking finish.
Here’s how to perfect the painting tools like a pro!
Rollers and roller covers
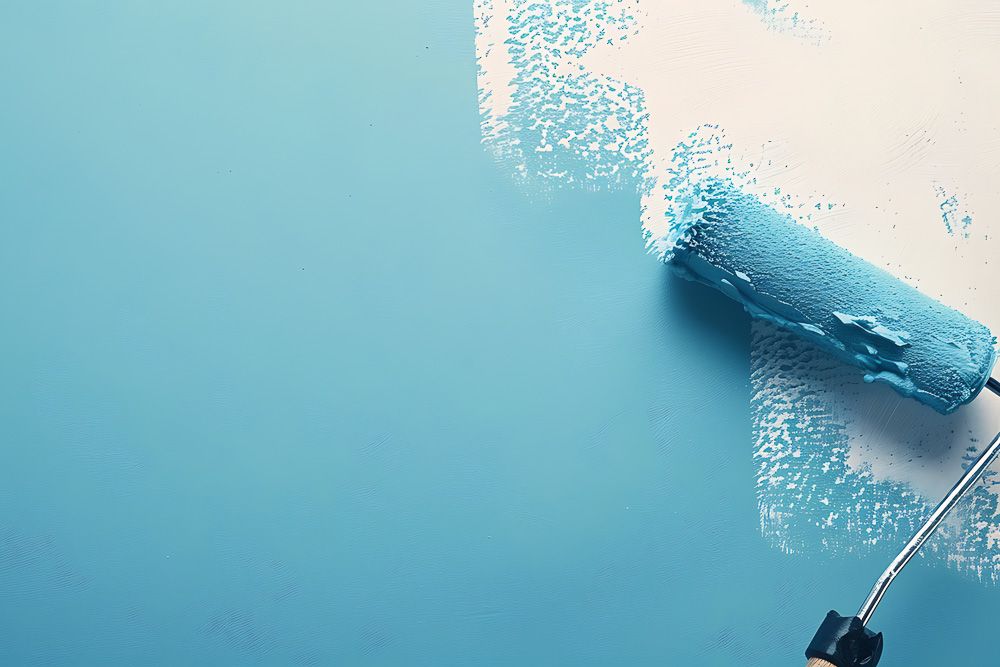

The roller is your primary material for wall painting for covering large expanses of walls quickly and efficiently. Choose a roller with a comfortable handle and a sturdy cage that holds the roller cover securely.
Picking the perfect cover: The nap (length of fibres) of the roller cover determines the finish. For smooth walls, opt for a ⅜ inch nap roller cover. This provides a good balance between paint absorption and minimising texture on the wall.
Corner coverage: No roller can reach tight corners. Invest in a rounded corner roller or an angled paintbrush to ensure seamless paint application in those areas.
Brushing up on the details
You’ll need a quality angled paintbrush for trimming around windows, doors, and baseboards. A 2-inch or 3-inch size offers good control and coverage for all kinds of painting tricks. Choose a brush with soft, synthetic bristles that minimise streaking.
- Cutting in like a pro: Cutting in refers to painting the edges where the wall meets the trim or ceiling. The angled brush allows for precise application, minimising the need to tape off the trim (although using painter’s tape for beginners can be helpful).
Also Read: Discover 14 Different Types of Paints for Your Home
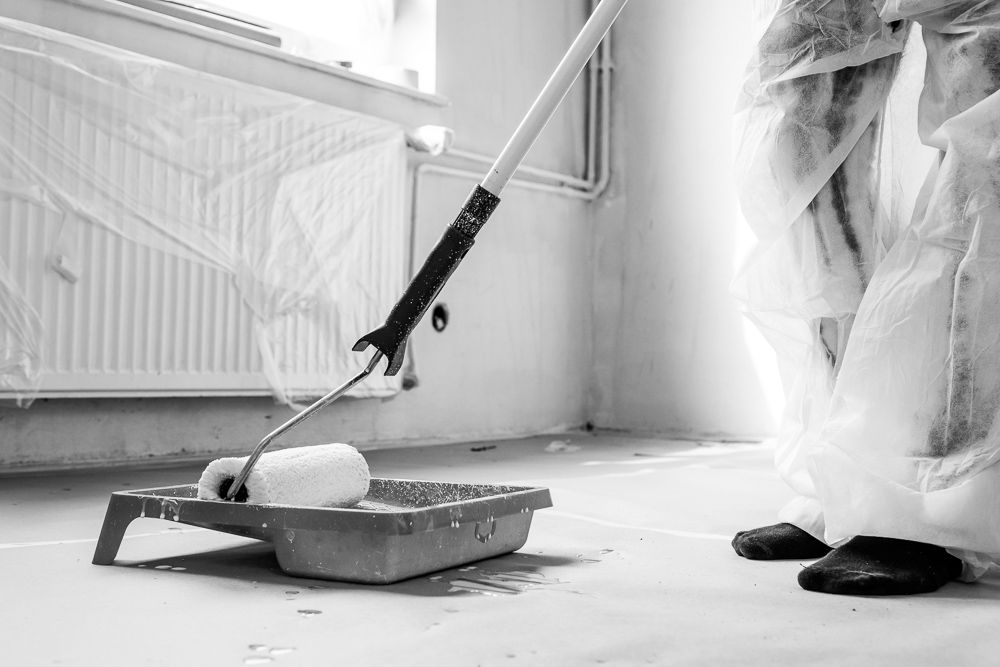
Maintaining a clean canvas
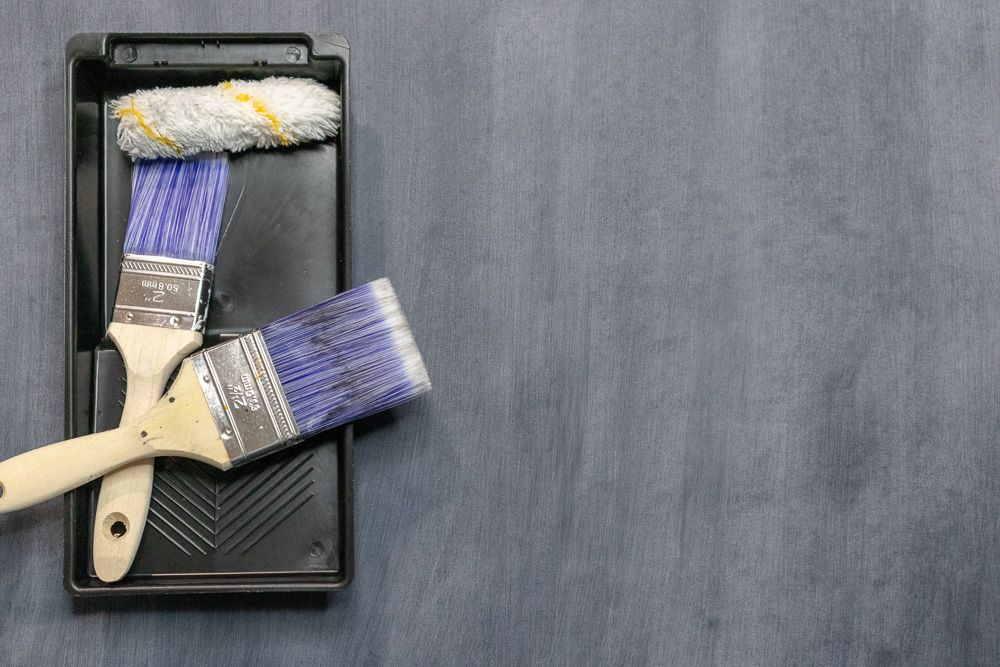
- Paint tray: A sturdy paint tray is an essential material for wall painting for holding and distributing paint evenly to the roller. Look for a tray with a removable liner for easy cleanup.
- Drop cloths: Protect your floors and furniture from paint splatters with drop cloths. Canvas drop cloths are reusable and more absorbent than plastic sheeting.
The finishing touches
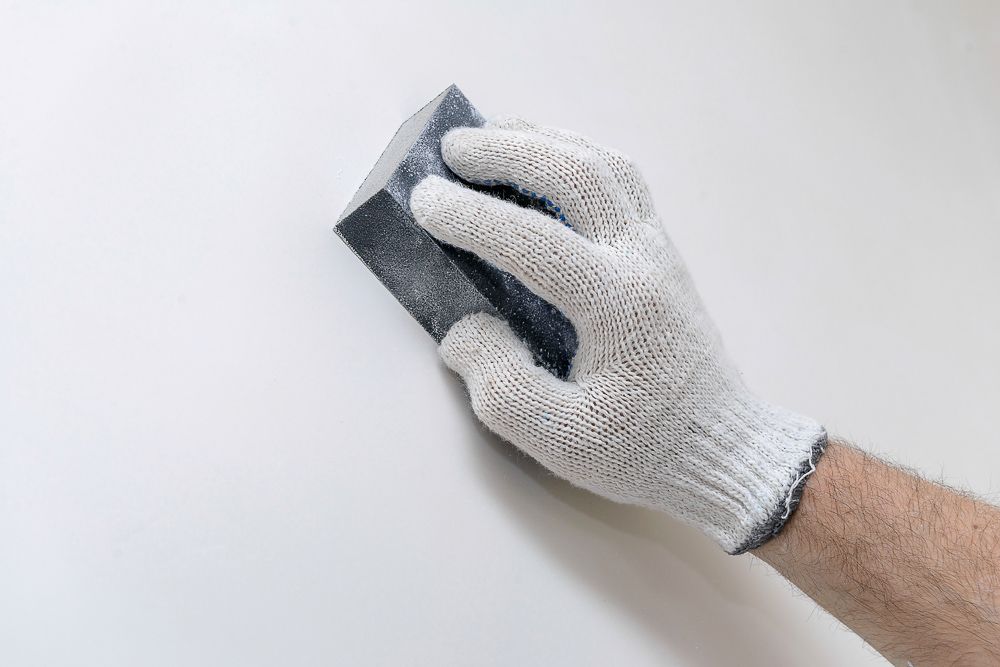
For an exceptionally smooth finish, lightly sand the walls between coats of paint with a fine-grit sanding sponge. This removes any bumps or imperfections left by the roller.
- Cleaning up: Having a bucket with warm soapy water and a rag readily available allows you to clean your brushes and rollers throughout the painting process, preventing dried paint buildup that can affect the finish.
Also Read: A Detailed and Easy Guide on the Cost of Painting a House per Square Foot in India
9 Other painting tools you may need
Painter’s tape
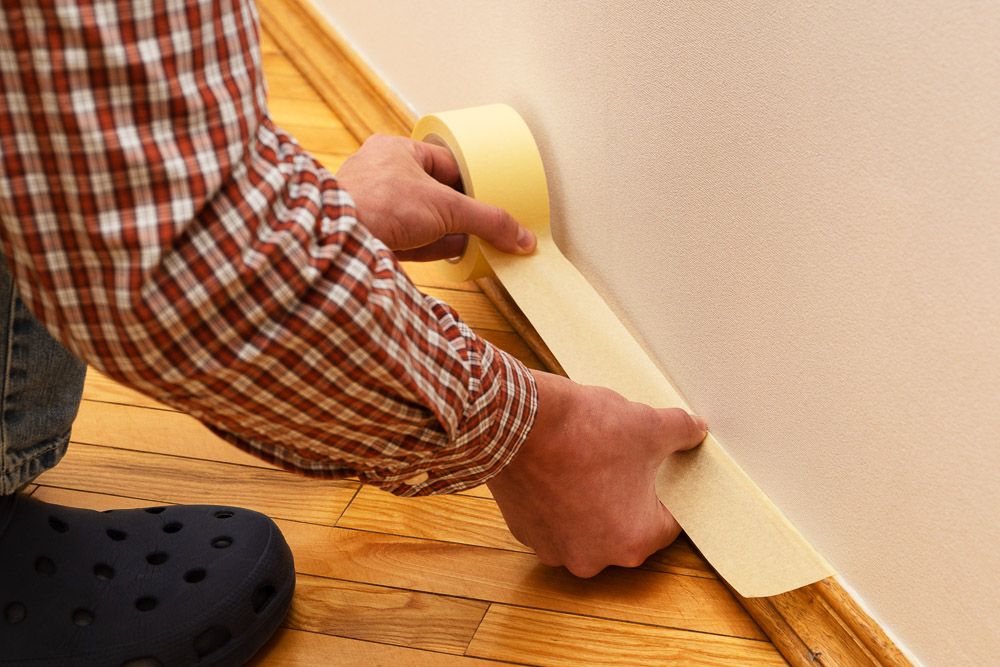
Painter’s tape, also sometimes called masking tape, is a pressure-sensitive tape specifically designed material for wall painting. It sharply defines paint lines and protects trim, moulding, and door frames.
Extension pole
Reach high ceilings and eliminate the need for a ladder with a sturdy extension pole. Look for one that can accommodate the width of your roller and allows for easy attachment.
Ladder
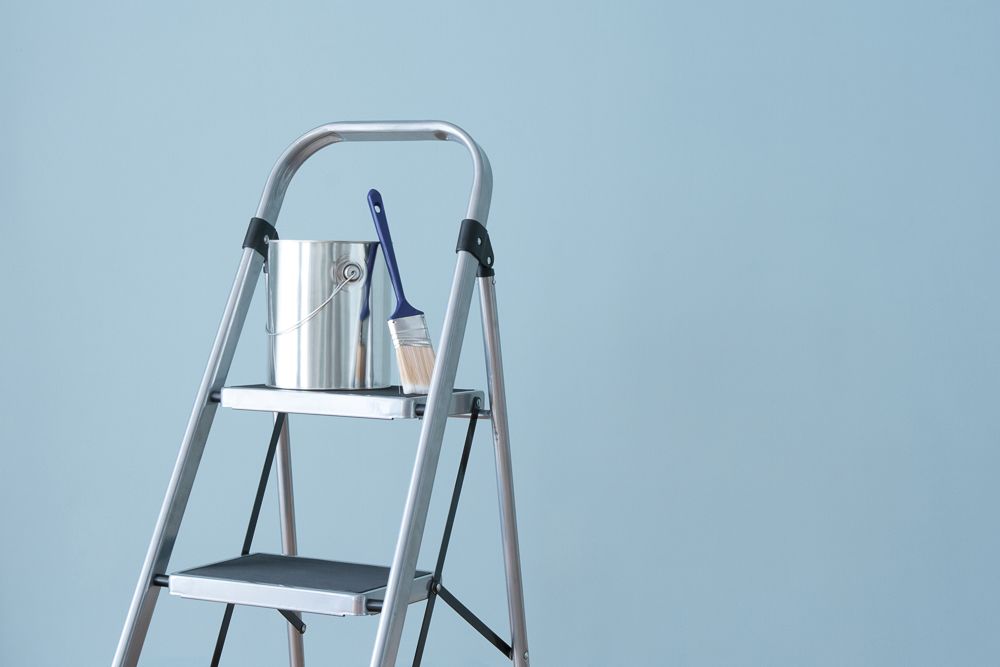
But if you can’t find an extension pole, ladders are always here to save the day!
Caulk, caulk gun, and putty knife
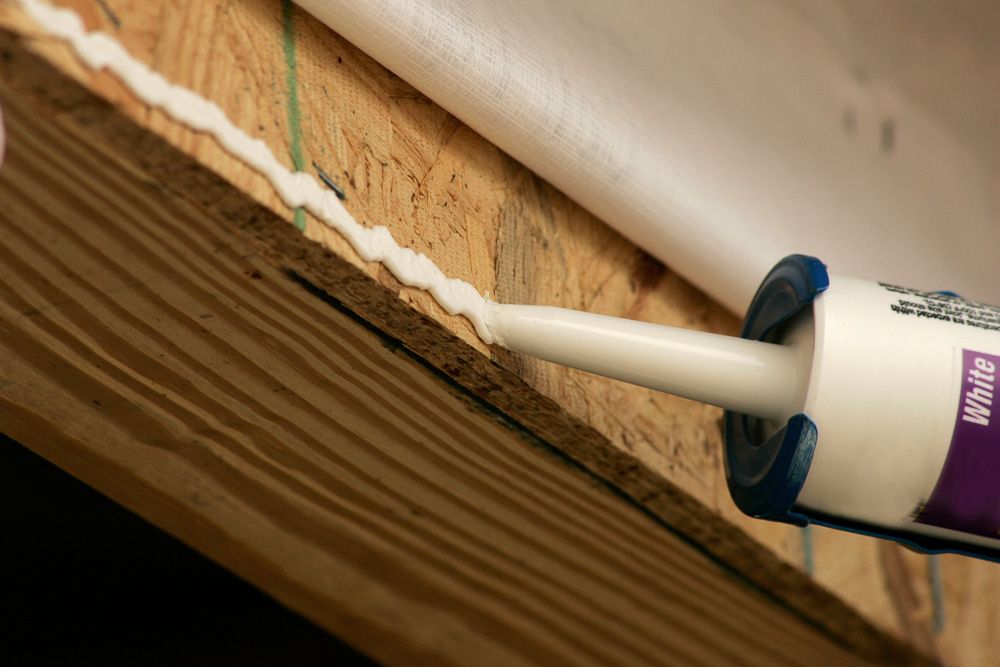
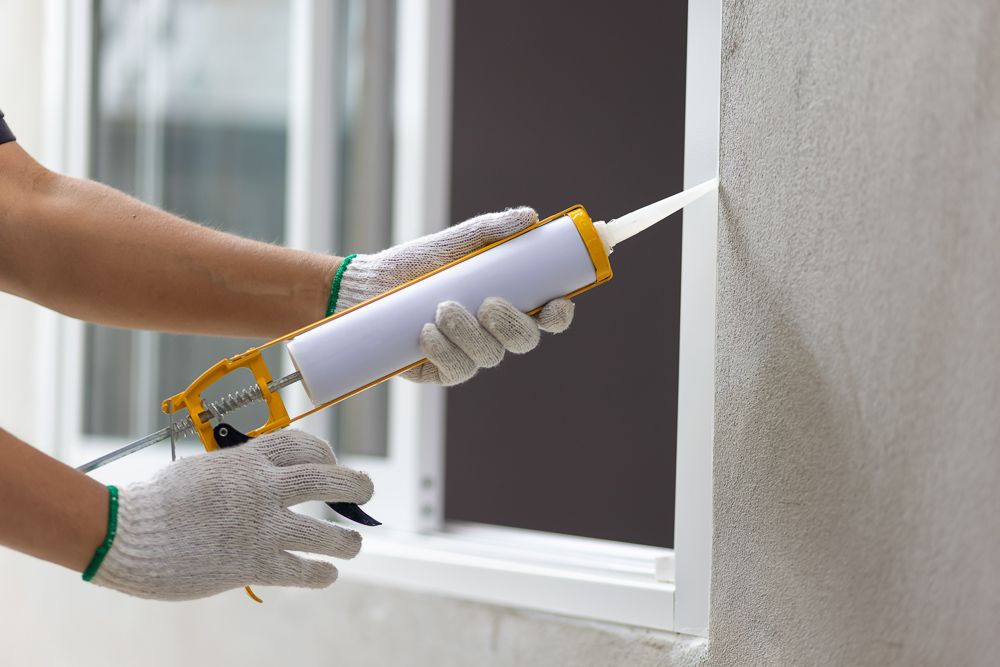

Caulk is a sealant material for wall painting used to fill gaps around windows, doors, and other areas. The putty knife can help smooth out the caulk for a clean finish.
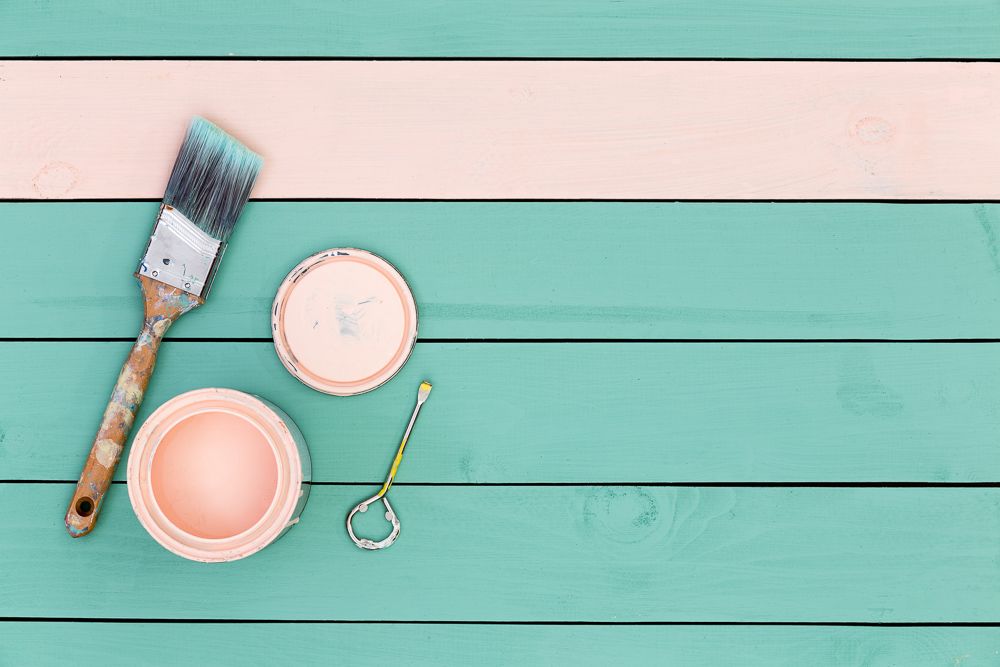
Paint buckets, paint drill mixer attachment, pouring spout

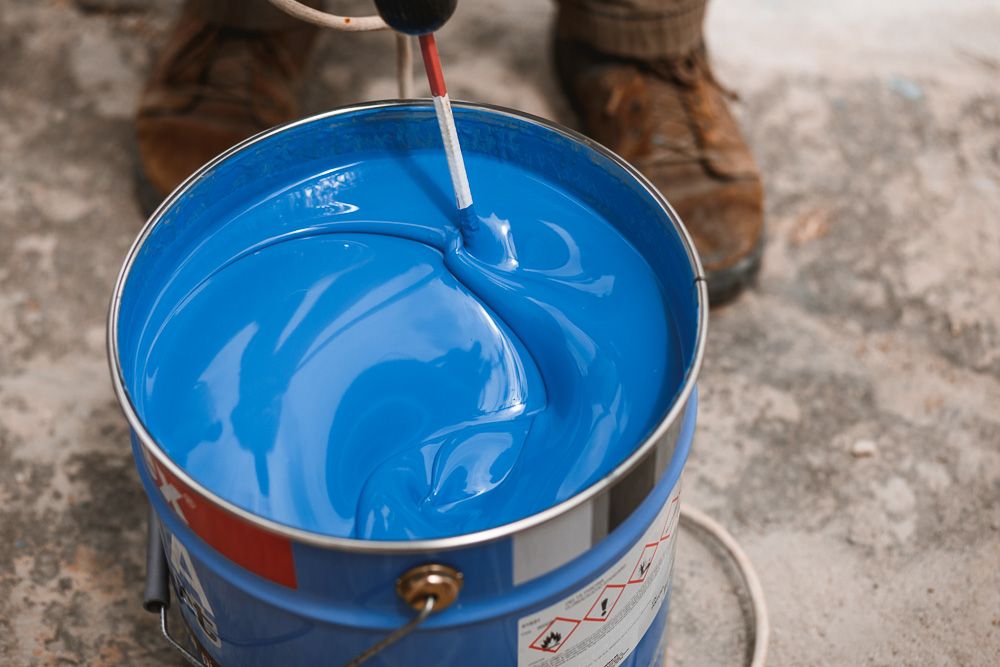
Look for buckets with lids to prevent spills and keep paint fresh or look for a pouring spout. Some buckets may have measurement markings on the side, which can help mix paint or determine how much you have left. You may use a mixer drill to save time and effort compared to stirring paint by hand.
5 Bonus painting tools
- Invest in a paint can opener for a mess-free way to open paint cans
- Remove dust, dirt, and cobwebs from the walls before painting with a damp cloth for a truly clean canvas
- A paint bucket opener allows you to pry open a paint can lid without damaging it or getting paint on your hands
- For oil-based paints, you might need a paint cleaner solvent like mineral spirits for cleaning
- A damp rag or sponge is handy for wiping away drips, and splatters, and cleaning up minor mistakes before the paint dries
How do you take care of painting tools?
Brushes
- Remove excess paint with a rag or by gently scraping against the rim of the paint can
- Wash the brush thoroughly in warm, soapy water
- You can use a paintbrush comb to remove stubborn paint deposits
- Rinse well and gently reshape the bristles to their original form
- Let the brush air dry completely before storing
Rollers
- Remove as much paint as possible from the roller with a paint scraper or by rolling it on a newspaper
- For latex paint, wash the roller cover with warm, soapy water
- For oil-based paint, use a solvent like mineral spirits ( following safety instructions on the product label), then wash with soapy water
- Rinse the roller cover thoroughly and spin it to remove excess water
- Let the roller air dry completely before storing
Paint trays
- Pour out any leftover paint back into the can and wipe away any paint splatters with a rag
- Wash the tray with warm, soapy water and rinse well and let it dry completely before storing
Drop cloths
- Allow latex paint splatters to dry completely on the drop cloth
- Brush or scrape off the dried paint flakes from the drop cloth
- For oil-based paint splatters, you might need to use a solvent-soaked rag to remove them according to the product instructions
- Wash the drop cloth with warm, soapy water and let it air dry completely before storing
Here are some general storage instructions for your painting tools
- Store brushes upright with the bristles facing up to prevent them from bending or curling. You can use a brush holder or hang them from a pegboard. Avoid storing them in a tightly closed container while wet, as this can trap moisture and lead to mildew growth.
- Store roller covers in a cool, dry place away from direct sunlight. Hang them if possible, or lay them flat on a shelf. Don’t store them in a container that can trap moisture.
- Store paint trays and liners completely dry in a cool, dry place.
- Once completely dry and clean, fold or roll up the drop cloths and store them in a cool, dry place.
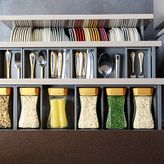
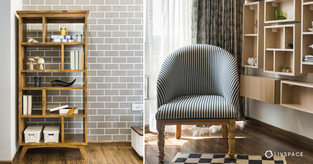
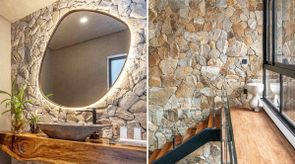
Some textured wall finishes from #LivspaceHomes that you should recreate!
Check out our #LivspaceHomes gallery for ideas that go beyond just paint. You’ll find wall texturing designs for a unique look, or the soft glow of limewash paint. If you’re not a fan of painting, we also have a collection of textured wallpaper designs to explore too!

Boring walls? Be gone! 3D textured wall finishes are here to spice things up.


Who needs art when you have walls like these? Rattan & gold FTW!
Such textured wall finishes are the perfect backdrop for your next plant obsession.


Warning: This wallpaper design may cause excessive compliments on your home decor.

Ditch the boring beige! This limewash blue is giving us serious summery feels.


Skip the demolition, and get the brick look instantly with wallpaper!

Walls so good, you’ll want to frame them! Texture paint gives you the artistic edge you’ve been craving!
Also Read: Texture Interior Design: The Design Secret No One Told You About
How can Livspace help you?
With this arsenal of essential painting tools and a little preparation, you’ll be well on your way to achieving those smooth, flawless walls you’ve been dreaming of.
- Livspace has been revolutionising home interiors since 2014
- We have delivered 75,000+ happy #LivspaceHomes
- Our team consists of 3,500+ expert designers
- We offer easy EMIs and a flat 10-year warranty*
Let us help you create your dream home interiors along with those flawless walls! Book a consultation NOW!
*For select finishes on modular products. For full scope of warranty, please visit zonemlb.com/in/service
Disclaimer: All contents of the story are specific to the time of publication. Mentions of costs, budget, materials, finishes, and products from the Livspace catalogue can vary with reference to current rates. Talk to our designer for more details on pricing and availability.